After moving into a new place, the biggest question you’re asking yourself is likely, “How am I going to decorate?”
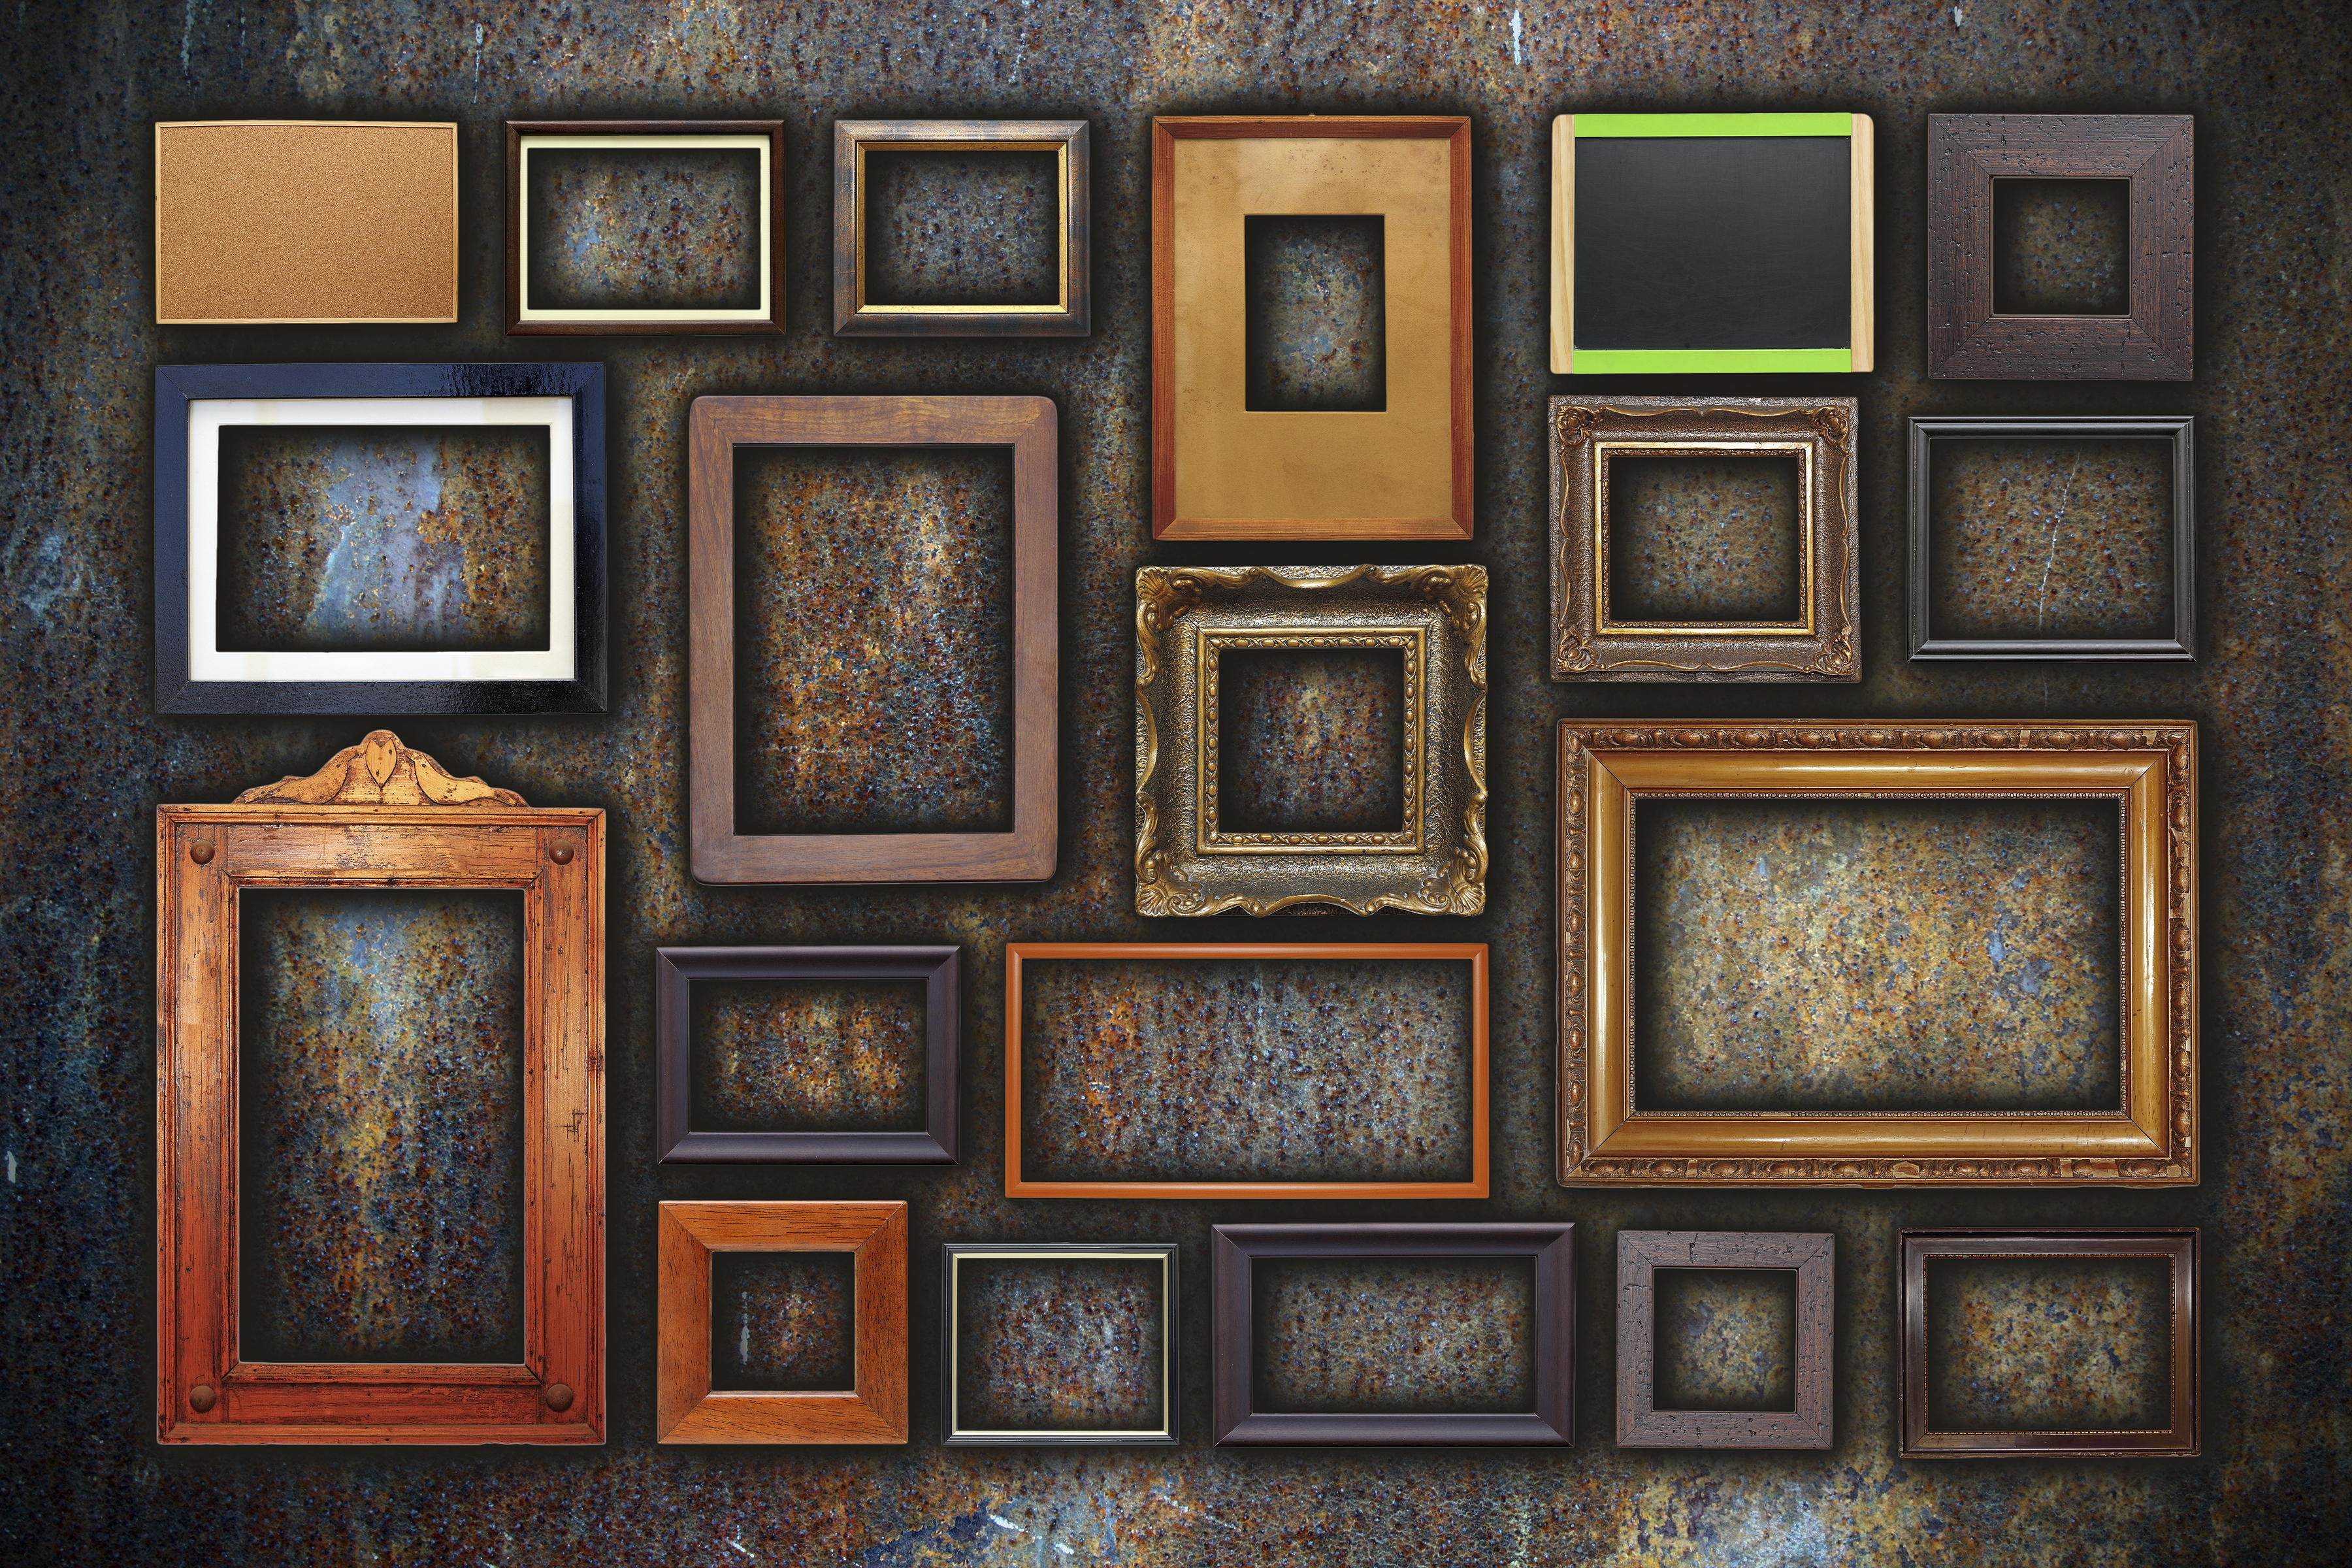
A great use for all that blank, white space is a gallery wall. This is an easy way to feature your favorite framed artwork and personal photographs.
Follow our tips to style your own gallery wall:
1. Decide what to hang: Choose your medium (painting, drawing, photograph), size, and frame (including color, material, and shape). Don’t be afraid to mix and match! When adding variation, just make sure it’s balanced and doesn’t clash. If you have a collection of various frames but want to make everything uniform, consider painting them all the same color.
2. Plan the arrangement: Play around with the layout before you start putting nails into the wall. Decide if you’re going to group multiple pieces in a shape (diamonds, squares, and rectangles work well) or in a straight line. You might want to do a little sketch on paper (to scale). Then lay out your collage on the floor. Place each frame approximately one or two inches apart for cohesiveness. If you’re mixing sizes, start with the biggest piece and work around them with the smaller ones. Consider choosing one piece of art as the focal point and place it in the center.
3. Test your layout: Once you’re happy with the arrangement, cut out pieces of paper that fit each framed piece. Mock up your collage on the wall with paper and tape to help visualize the result. Make tweaks, and move the pieces around until the layout is just right.
4. Start hanging: This is the moment you’ve been waiting for! Break out your hammer and nails. Place the frames over the paper, replacing each cut-out with the actual piece.
Once you’re done, take a few steps back to admire your work! One of the best things about a gallery wall is that you can swap personal photos and art if you find a new piece that you want to feature.


